

Online Credit Card Payment SetupIntroduction In SPMS there is a "special" method of payment, commonly known as "Credit Card". Actually, it can be used for whatever online method of payment that relies on an external vendor processing the payment, given some input from the SPMS, and returning the status of the payment to the SPMS for its recording of the process. In other words, this online payment method unifies the two processes of payment (by the user) and processing (usually done manually by the Registration Manager - this time automatically done by the system). To use this online method it is necessary to:
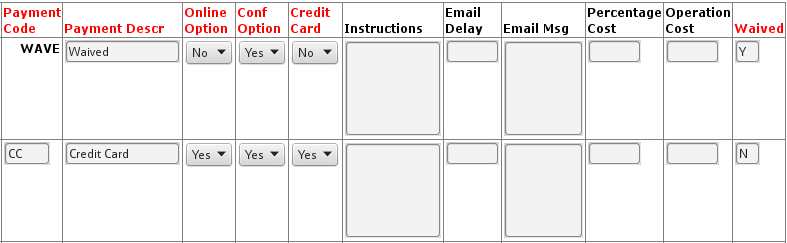
Multiple "online" methods of payments are allowed in the SPMS, but only one Vendor is supported. This means that the user can see different online methods of payments (say, "Credit Card for Delegates", "Credit Card for Industrials", etc.), but all of them will use the one Online Vendor setup in the parameters. Step by step procedureStep 0: have a registration pageUseless to say, but it's needed! Step 1: Setup an online method of paymentFrom the Registration Menu, let's follow the Registration > Setup & Maintenance > Payment Types to create a new "Online" method of payments. 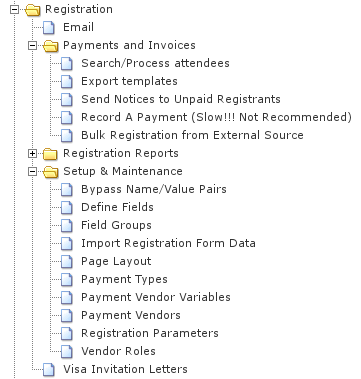 We will call this new method of payment "Credit Card". The other important parameters are:
 Step 2: Associate method of payment to pageFrom the Page Layout screen it is possible to associate methods of payments to each registration page. 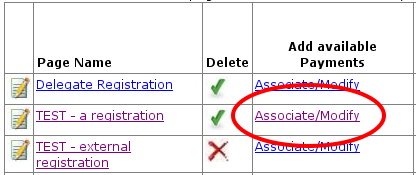 For this setup it is necessary to select and associate the Credit Card payment created in step 1. 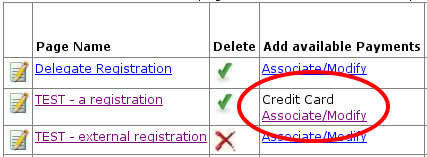 Step 3: Create an Online Payment VendorFrom the Registration menu (see above), select the screen Payment Vendors. Create a new Payment Vendor code CC, give it a description to identify this Payment Vendor. Next, very important, input the URL of the script or Portal that will accept payments from the user. Since the algorithms to interact with such portals vary very much among different companies, it is usually common to create some intermediate (glue) scripts that will keep the logic of the interaction with the Portal. This will also be useful since any authentication data will stay in those scripts and not in the SPMS (hence, separating the accessibility of sensible data between the SPMS managers and the IT managers devoted to maintaining the connection with the Online Vendor Portal. When, after the completion of the registration page, the user will choose to pay via this online method of payment/vendor, the Payment Msg will be displayed before being redirected from the SPMS to the external payment portal. The Input Tag Text is useful only for simple online payments like PayPal. The Action URL override is not used and can be left unset or set to 'No'. The Ipn Display Invoice is needed to let the receipt be shown after the payment. It is recommended to leave this flag set to 'Yes'.  Step 4: Set up the Payment Vendor VariablesThese variables are both the named data that will be passed from the SPMS to the external Online Payment Portal (hidden) and the ones that will come back from the external Portal to the SPMS (return), to actually process the payment. To access this feature, from the Registration Menu depicted above go to the item Payment Vendor Variables. 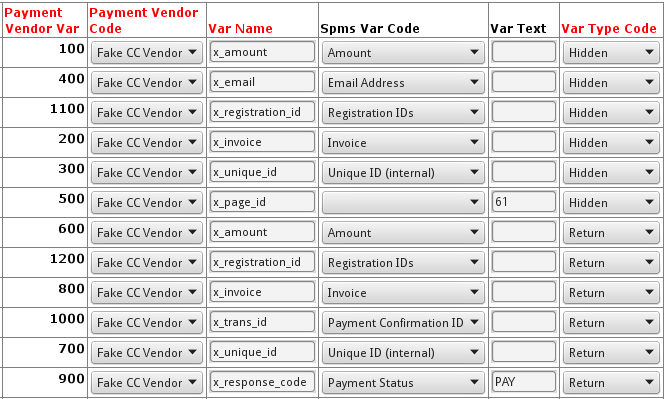 Here a number of hidden and return variables need to be created. First, let's start with the hidden Hidden variables: from SPMS to the external Payment Vendor PortalThe Payment Vendor Vars column will hold a sequential number that will be the ID of any variable. The Payment Vendor Code is used to relate the given variable to one Vendor. The Var Name will be the name of the variable/field sent to the external Payment Portal (or sent back by it to the SPMS). The Spms Var Code is the SPMS variable name of the data to be sent or received. The Var Text will hold the value in case this must be passed outside as a static value instead of a Spms Var Code. In this case, the latter will be left unselected (as in the figure above for x_page_id. The Var_Type_Code selects the type of the given variable. First, start defining the variables that will be sent by the SPMS to the external Vendor Portal (hidden). A number of variables/Spms var codes is needed:
You can decide to pass on any other variable the SPMS have in the Spms Var Code popup menu, which could be useful by the Payment Portal for internal use (like recording the transaction with more information attached). Examples in the above picture are:
Now, from the external Payment Portal to the SPMS (return)And then, let's look at the return variables. There is a number of variables that are mandatory (anyone missing will make the process to fail):
Step 5: Select the Online Vendor Portal as the SPMS defaultFrom the registration menu depicted above, choose Registration Parameters to get to the general SPMS parameters, Registration section. Then, set the Credit Card Vendor appropriately: 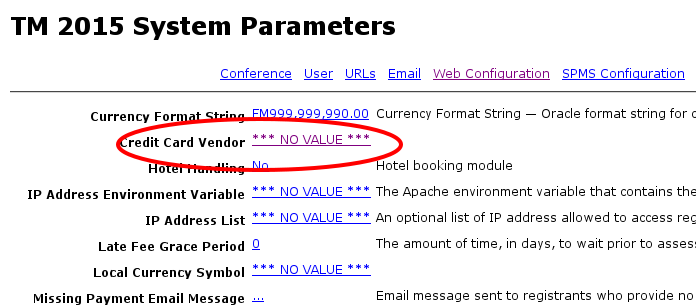 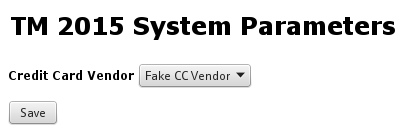 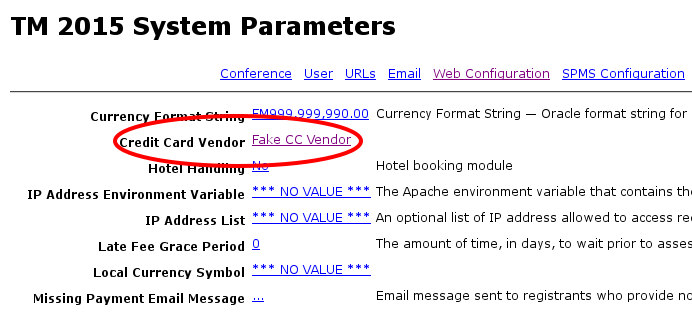 Step 6: ensure the information goes back to the SPMSThe Online Vendor Portal, after processing the payment (even if this failed) must perform an HTTP POST call back to the SPMS at the following URL: https://RSC_ADDR/PLSNAME/!CC_Vendor.IPN Where:
According the the check of the parameters' values the SPMS will process (or not) the given fee. Step 6: test it!Now, as a simple user, it is possible to test the system. Let's start with registering to the registration page created above and then choose to pay with this Method of Payment. 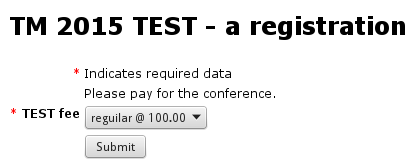 So, the SPMS will notify the user about the browser bound to redirect to the external system.  At this point the external portal will process the actual payment (here displayed is a dummy portal showing the passed parameters). 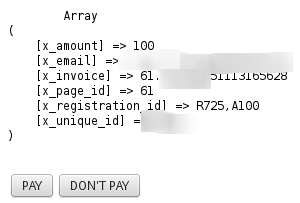 Now, if the payment is successfully performed, the SPMS will record the details and then show the updated receipt with the payment details: 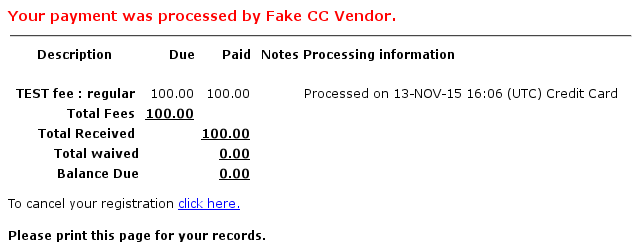 If the payment didn't succeed, a warning message will be displayed: 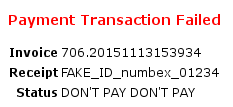 |